
LiveScript is an amazing programming language with expressive syntax that compiles to JavaScript.
In this article we will see how to structure and build a basic web app using LiveScript, Express and Pug in just a few minutes.
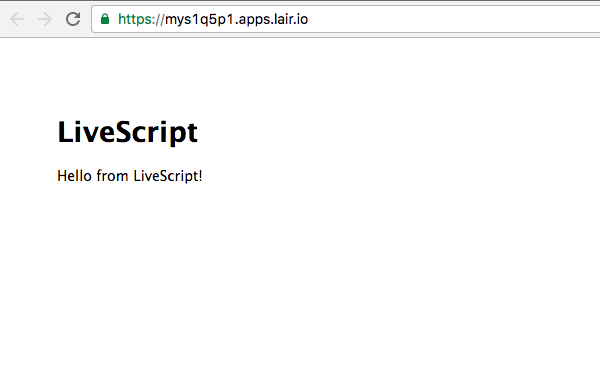
This web app will display a Hello from LiveScript! message, but it will be structured in order to be extended easily. Also we will make use of the following elements to get the complete picture of building LiveScript web apps:
- storing routes in separate modules
- rendering templates with variables
- serving stylesheets as static files
So let's get it started!
Getting started
The easiest way to get started is from our LiveScript starter Blueprint at https://lair.io/sourcelair/livescript-starter. This way you will get instantly a new SourceLair project with Node 6.2 and LiveScript pre-installed.
Afterwards we need to install Express and Pug, by running the following command in our terminal:
npm install --save express pug
Now we are ready to start structuring our project.
Setting project structure
The first thing we have to do here is tell Node, how to run our LiveScript web application. To do this we will open the package.json file of our project and set the value of the start script to lsc app.ls. Afterwards it should look like this:
{
  "private": true,
  "scripts": {
    "preinstall": "npm install -g [email protected]^1.5.0",
    "start": "lsc app.ls"
  },
  "dependencies": {
    "express": "^4.14.0",
    "pug": "^2.0.0-beta6"
  }
}
Last we have to create the following directories:
public/stylesheetsto put our CSS coderoutesto put the Express view routersviewsto put the Pug templates
To create these directories, we run the following command in the terminal:
mkdir -p public/stylesheets routes views
Now we are ready to start writing code for our app!
Building the app
Templates
First, we will create our templates using the amazing templating language Pug. For this example we need only two template files:
- a
layout.pugfile to set the overall structure for all pages for our web app - an
index.pugfile to set the content for the page that we will create
Let's create a file called layout.pug in the views directory. This file will be a very simple page that just loads our CSS stylesheet and places all content into the body:
doctype html
html
  head
    title= title
    link(rel='stylesheet', href='/stylesheets/style.css')
  body
    block content
Then, we will create an index.pug file in the views directory, that will just say "Hello" and render the title variable:
extends layout

block content
  h1= title
  p Hello from #{title}!
Stylesheets
Next, let's create a style.css file in the public/stylesheets directory, in order to serve our website's CSS code. While you can put whatever CSS rules you would like in this file, it can be as simple as the following:
body {
  padding: 50px;
  font: 14px "Lucida Grande", Helvetica, Arial, sans-serif;
}

a {
  color: #00B7FF;
}
Logic
Now we have to create the main logic of our application. It's time to write our first LiveScript file!
Let's create a file called index.ls in the routes directory. This file will just instruct our application to render the index.pug template, when a user visits our page:
require! express
router = express.Router();

router.get '/', (req, res, next) ->
  res.render 'index', { title: 'LiveScript' };


module.exports = router;
Last, we have to create our app.ls file, which will serve our application. What we need to do in this file is:
- serve all static files included in the
publicdirectory with the/public/URL prefix - dispatch the rest of the URLs to
index.ls - expose our app server, by listening to a port
This can be written in extremely expressive syntax using LiveScript piping and cascading:
require! express
require! path

require! './routes/index': routes

port = parseInt process.env.PORT || 3000

absolutePath = (relativePath) ->
  path.join(__dirname, relativePath);

app = express!
  ..set 'views', ('views' |> absolutePath)
  ..set 'view engine', 'pug'
  ..use '/', routes
  ..use ('public' |> absolutePath |> express.static)
  ..listen port
So that was it! You are all set.
Now restart your server by opening the Command Palette, typing restart server and hitting Enter to run the following command:
Server: Restart server
Last open your Public URL to view your app! This is what you should be seeing :
If you would like to see how the full app should look like after completing this tutorial, take a look at this GitHub repo.
Now we can also extend our application easily at any time. We can add new stylesheets in the public/stylesheets directory, add more routes either in routes/index.lsor in a separate file or add more templates in the views directory.
So lose no more time! Open the LiveScript starter Blueprint and build your first LiveScript web application.
